Saturday, October 29, 2011

Peanut Butter-Chocolate Twist Cupcakes

Yesterday (by the time I get this post up it will have been 2 days ago) I made Chocolate Peanut Butter Cupcakes. Oh, wait. That would be Peanut Butter-Chocolate Twist Cupcakes. Anyway. I got the recipe from a Better Homes and Gardens Special Interest Publications - Cupcakes. I don't know what I was thinking. I worked all day and then picked up my daughter and decided to come home and bake a, not really complicated, but involved cupcake. Something that required more than dump, mix, and scoop. But I did it. I even had to take a break at one point so that I could play blocks and play kitchen with Bella in her room. (I even had a homemade chicken pot pie ready for the oven when my husband got home.) Ambitious I know, but it worked out. Anyway, due to my busy evening, I didn't get any pictures while I was baking so I will just provide the recipe and some pictures of the final product. (I will get better at this blogging thing, I promise.)


Peanut Butter-Chocolate Twist Cupcakes
Makes 34-36 cupcakes (I only got 25)

1/2 cup butter
3 eggs
2 1/2 cups flour
2 1/2 tsp baking powder
1/2 tsp salt
1/3 cup creamy peanut butter
1 cup packed brown sugar
3/4 cup granulated sugar
1 1/2 tsp vanilla
1 cup milk
4 ounces of melted and cooled milk chocolate (I didn't have time to wait for it to cool because of the rug rat running around and my batter was way too thick)

1 recipe for peanut butter frosting
1 recipe for chocolate frosting
  1. Allow butter and eggs to stand at room temperature for 30 minutes. Meanwhile, line muffin pans with liners. In a medium bowl combine flour, baking powder and salt.
  2. Preheat oven to 375. In a large bowl beat butter on medium speed for 30 seconds. Add peanut butter and beat until combined. Gradually add brown sugar and granulated sugar, about 1/4 cup at a time, beating on medium speed until combined. Scrape the sides of the bowl; beat about 2 minutes more until fluffy. Add eggs, one at a time, beating well after each addition. Beat in vanilla. Alternately add flour mixture and milk to butter mixture, beating on low speed after each addition just until combined.
  3. Place half of the batter into a separate bowl; add melted chocolate. Beat with mixer on low speed just until the chocolate is combined. 
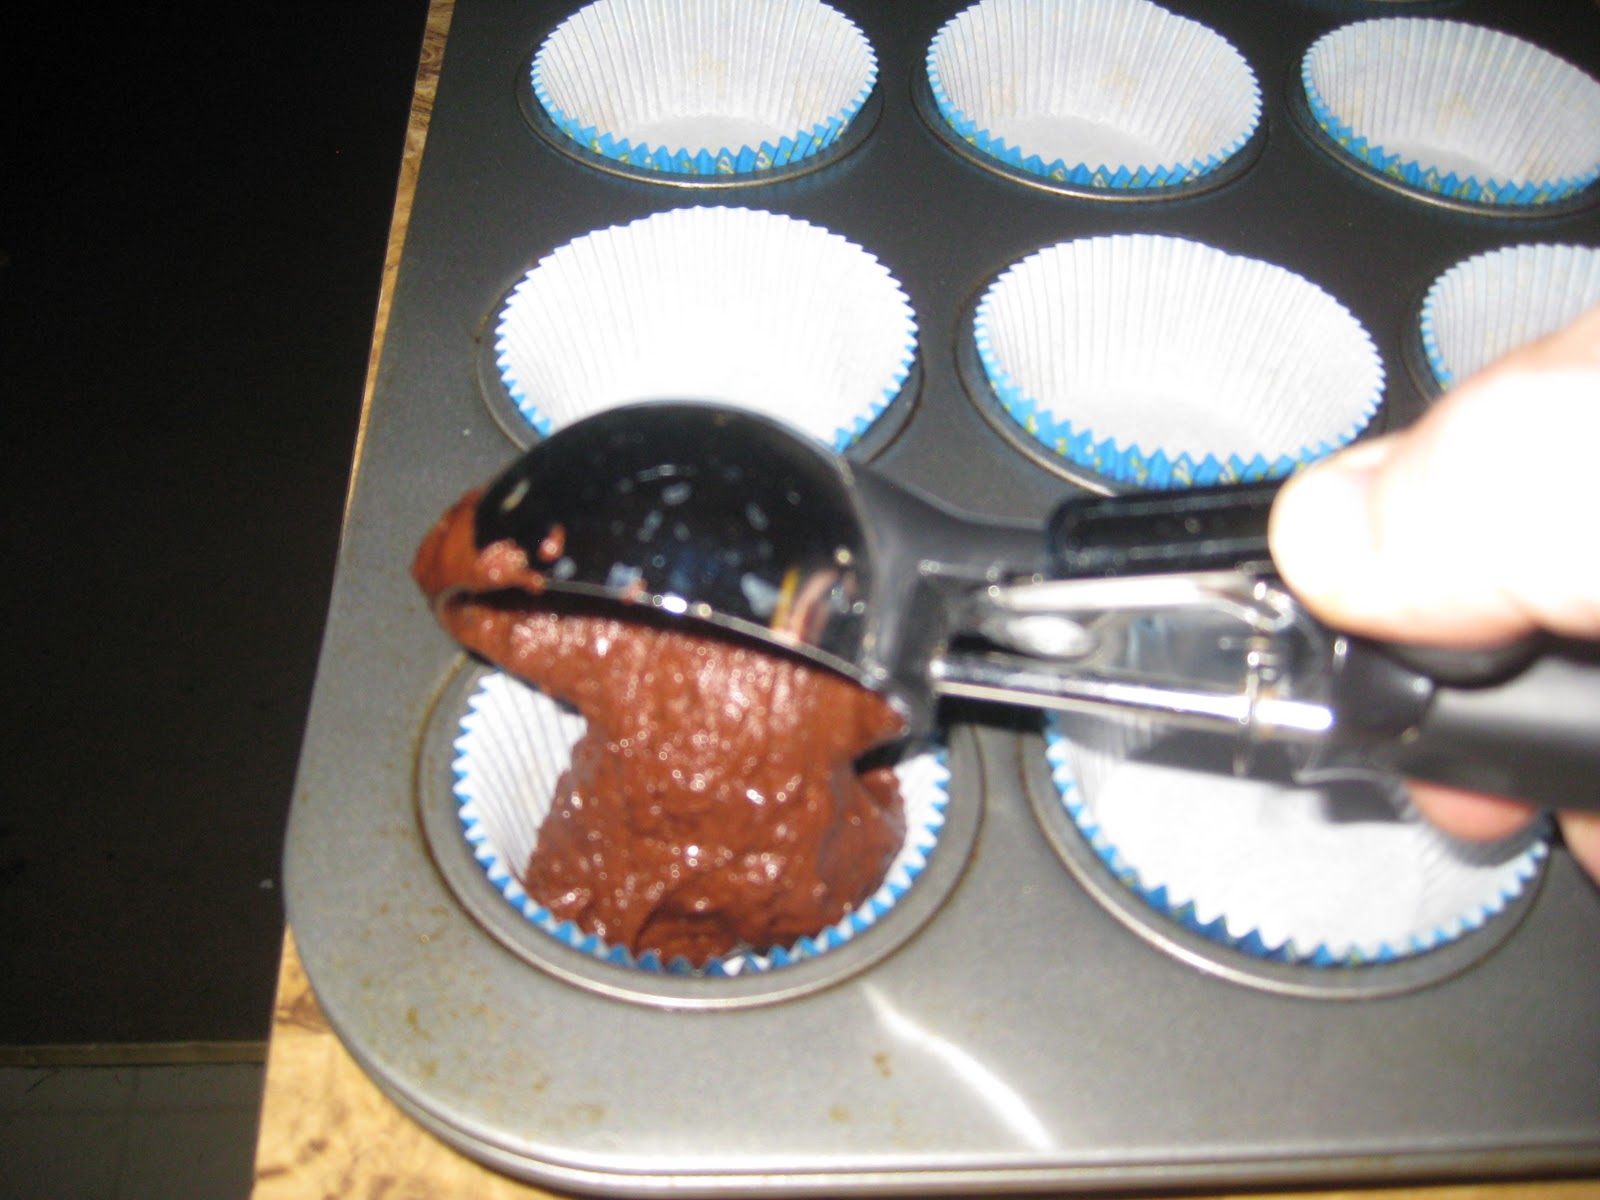
  4. Fill prepared muffin cups by alternating spoonfuls of the peanut butter and chocolate batter, filling each cup about 2/3 full. Use a skewer to swirl the batter in each cup. (Had my chocolate batter not been so thick this would have been easy to do. So, once again, let the chocolate cool before adding it to the batter.)
  5. Bake for 15-18 minutes or until a toothpick inserted into the center comes out clean. Cool the cupcakes in the pan on a wire rack for 5 minutes then remove to cool completely.
  6. Fit pastry bag with the tip of your choice. Spoon peanut butter frosting down one side of the pastry bag and spoon the chocolate frosting down the other side of the pastry bag. Pipe frosting into swirls onto the cupcakes

Peanut Butter Frosting
Allow 8 ounces of cream cheese to stand at room temperature for 30 minutes. In a large mixing bowl beat cream cheese, 1/2 cup creamy peanut butter, and 2 tsp of vanilla on medium speed until light and fluffy. Gradually beat in 6 cups of powdered sugar. Add milk 1 tsp at a time until it is piping consistency. Divide the frosting into 2 portions and set one aside for the chocolate frosting. (Makes two 1 1/2 cup portions.)
Chocolate Frosting
In a medium bowl combine one portion of the peanut butter frosting and 4 ounces of melted and cooled milk chocolate.
Beat on medium speed until combined. If necessary beat in additional milk or powdered sugar to get the consistency you need.  (Makes 1 1/2 cups.)


I had enough batter to make 25 cupcakes and enough frosting to frost 36, so I made a dozen vanilla cupcakes to use the frosting. 
 

Saturday, October 22, 2011

Star Cake

Well, it just took me entirely too long to cover a cake in fondant. (My own inexperience is probably to blame.)
I had a request for "my" Red Velvet cake in the shape of a star. Its not actually my recipe. It is the Waldorf-Astoria Red Velvet Cake from the 1920's and it is made with beets. I got the recipe from the following site: http://www.food.com/recipe/waldorf-astoria-red-velvet-cake-1920s-recipe-425556 . It isn't very red, but I also don't see the purpose of adding a full ounce of red food coloring. The beets however do give the cake a very moist texture and a unique taste. The cake's chocolate and beets combine to provide the cake with a very deep brown red color.

Waldorf-Astoria Red Velvet Cake (1920s Recipe)

Ingredients

    • 3 ounces unsweetened chocolate, chopped
    • 2 cups granulated sugar
    • 4 large eggs
    • 1 1/2 cups vegetable oil
    • 1 1/2 teaspoons vanilla extract
    • 2 cups all-purpose flour ( I would use cake flour!)
    • 2 1/4 teaspoons baking soda
    • 1/4 teaspoon salt
    • 1 1/2 lbs canned beets, drained and pureed
    • 1 teaspoon red food coloring
    • 2 cups heavy cream
    • 12 ounces cream cheese, room temperature
    • 12 ounces mascarpone cheese
    • 1/2 teaspoon vanilla extract
    • 1 1/2 cups powdered sugar, sifted

Directions


  1. Pre-heat oven to 350°F.
  2. Butter three 9" round cake pans and line them with parchment paper or waxed paper.
  3. Melt Chocolate in a metal bowl set over a saucepan of boiling water or in the top of a double boiler (or melt in microwave for 20 – 25 seconds).
  4. Meanwhile. place the sugar, eggs, oil and vanilla in the bowl of an electric mixer fitted with a paddle attachment and mix on low speed for two minutes.
  5. In a mixing bowl, sift together the flour, baking soda and salt.
  6. Add the dry ingredients to the egg mixture and continue to mix on low speed, scraping down the sides of the bowl with a spatula so everything is well incorporated.
  7. Add the melted chocolate to this mixture and continue to mix on low speed. Add the pureed beets and food coloring.
  8. Continue to mix on low speed until everything is thoroughly combined.
  9. Evenly divide the batter between the three prepared pans and tap down to remove air bubbles.
  10. Bake in the middle of the oven for 20 – 25 minutes or until center of cake springs back when touched, or when an inserted toothpick comes out clean.
  11. Remove the pans from the oven and transfer to a cooling rack. Let cool for ten minutes in the pans, then turn the layers out onto the rack and let cool completely.
  12. Icing: Pour cream into a small bowl and whip to soft peaks. Set aside in the refrigerator.
  13. Place the cream cheese in the bowl of an electric mixer fitted with a paddle attachment and mix on low speed until it is soft and smooth.
  14. Add the mascarpone and continue to mix on low speed until the cheeses are well combined.
  15. Add the vanilla and powdered sugar and mix until everything is just combined.
  16. Turn off the mixer and fold in the whipped cream by hand with a spatula.
  17. Keep refrigerated until ready to assemble.
  18. Chef’s note: Sliced canned beets are easier to work with in this recipe than whole beets.
  19. Original Poster’s note – This cake works well as a wedding cake but use a cream cheese/buttercream as the icing noted here will not harden.


Now, I used a basic butter cream recipe for the icing. Although the icing listed in the above recipe is absolutely to die for. I used the left over icing on waffles and strawberries the first time I made it. It is amazing. The fondant recipe is quite simple to make as well. I got it from the Bake at 350 blog that I really enjoy.
I did need to add additional water to the recipe to keep it from cracking and so that it was easier to work with. (I feel like I did 100 push-ups just kneading the stuff. On the positive side, much more of that and I should be buff in no time.) The detail work and writing was just some royal icing that I had left from the Over the Hill cookies I made.


Sunday, October 16, 2011

Halloween Fun

Just for some Halloween fun I took some sugar cookies, chocolate dipped pretzel rods, candy corns and a Halloween cupcake and.....
I couldn't resist.

Halloween Pumpkin Cupcakes

Its Halloween time! I love Halloween and my first project of the season was a cupcake order for my mom. I made Martha Stewart's Pumpkin Cupcakes because pumpkin just screams Halloween and fall to me. They are spiced just like pumpkin pie. I changed up the frosting with a Cinnamon Brown Sugar Butter Cream and colored orange, green and purple. I think they turned out great!


I didn't take step by step pictures because I was in a bit of a hurry. But I will provide the recipes. You can also find it at the following links:
http://www.marthastewart.com/317069/pumpkin-cupcakes
http://www.mykitchenaddiction.com/2009/10/pumpkin-cupcakes-with-cinnamon-brown-sugar-buttercream/


  • 2 cups all-purpose flour
  • 1 teaspoon baking soda
  • 1 teaspoon baking powder
  • 1 teaspoon coarse salt
  • 1 teaspoon ground cinnamon
  • 1 teaspoon ground ginger
  • 1/4 teaspoon freshly grated nutmeg
  • 1/4 teaspoon ground allspice
  • 1 cup packed light-brown sugar
  • 1 cup granulated sugar
  • 1 cup (2 sticks) unsalted butter, melted and cooled
  • 4 large eggs, lightly beaten
  • 1 can (15 ounces) pumpkin puree

Directions

  1. Preheat oven to 350 degrees. Line cupcake pans with paper liners; set aside. In a medium bowl, whisk together flour, baking soda, baking powder, salt, cinnamon, ginger, nutmeg, and allspice; set aside.
  2. In a large bowl, whisk together, brown sugar, granulated sugar, butter, and eggs. Add dry ingredients, and whisk until smooth. Whisk in pumpkin puree.
  3. Divide batter evenly among liners, filling each about halfway. Bake until tops spring back when touched, and a cake tester inserted in the center comes out clean, 20 to 25 minutes, rotating pans once if needed. Transfer to a wire rack; let cool completely.

Cinnamon Brown Sugar Butter Cream
  • 1 stick unsalted butter, softened
  • 1/4 cup shortening
  • 1/3 cup dark brown sugar, packed
  • 1/2 teaspoon cinnamon
  • 3 cups powdered sugar (varies based on temperature/humidity)
  • 3 tablespoons half and half (varies based on temperature/humidity)
In a large mixer bowl, combine the butter and shortening. Whip together with the whisk attachment until light and fluffy.  Add the brown sugar and cinnamon and whisk until well combined.
Gradually add the powdered sugar, 1/2 cup at a time. Alternately add the half and half, whipping the icing on medium-high speed after each addition, until the desired consistency is reached.

Tuesday, October 11, 2011

Bella's Minnie Mouse Birthday Cake


COOKIES!!!


Bowling Cake


Miscellaneous Cupcakes


  Pineapple Upside Down Cupcake with Caramel Icing


 DARK CHOCOLATE CUPCAKES


First of all let me just say that one of my favorite cook books to use is The America's Test Kitchen Family Cookbook. I love it. It was gift from my husband's grandmother and honestly one of the best gifts ever. It gives all kinds of tips and hints which the authors have tried. I made dark chocolate cupcakes out of this book. They are so rich and good.

I made them quite a while ago, just never got around to posting.

So, first, make sure you read through every recipe BEFORE you begin. That way you make sure you have everything and it gives you a clear idea of what to expect. Then gather all your ingredients.
For 24 cupcakes you will need the following:

16 Tbsp of unsalted butter (2 sticks), cut up
4 ounces bittersweet chocolate, chopped
1 cup Dutch-processed cocoa powder (I am cheap and used regular old unsweetened cocoa powder)
1 1/2 cups flour
1 1/2 tsp baking powder
1 tsp baking soda
1 tsp salt
4 large eggs, room temperature
2 tsp vanilla
1 1/2 cups sugar
1 cup sour cream


Microwave the butter, chocolate and cocoa in a bowl stirring often until smooth and to prevent burning. Then set it aside to let it cool until just warm.
Preheat the oven to 350 degrees and line two cupcake pans with paper liners.
Then whisk the flour, baking powder, baking soda and salt in a large bowl and set it aside.
Whisk the eggs and vanilla together in a large bowl and slowly whisk in the sugar until combined. 
Whisk in the cooled chocolate mixture slowly. (Remember to cool the mixture, you don't want scrambled eggs in your cupcake.)

 Sift one third of the flour over the batter and whisk.

 Whisk in the sour cream. Then whisk in the remaining sifted flour mixture. The mixture will be nice and thick, you can still mix it together by hand. Your arm will only be a little sore when you are done. But, nothing a dark chocolate cupcake can't fix, right?


Fill the cupcake liners with batter to about 2/3 full. The best way is with an ice cream scoop. I prefer the red #24 scoop that I bout at Smart & Final.


Bake at 350 until a toothpick comes out clean, about 18-22 minutes. Technically you should rotate the pan half way through baking but I usually don't. As much as my electric oven sucks, it does cook pretty evenly.
Let them cool on a wire rack for a few minutes in the pans then, remove and cool completely before icing.