- 1 c. {two sticks} of REAL unsalted BUTTER, softened
- 1 1/2 c. confectioner’s sugar
- 1 egg
- 2-3 tsp flavoring {pick what you like, I prefer almond}
- 2 1/2-2 3/4 c. all-purpose flour
- 2 tsp. baking powder
- 1 tsp. salt
I can tell the dough is ready when most of it sticks to the paddle.
When I touch it, it has a little give, but does not stick to my fingers.
Roll out on parchment to about 1/4 an inch thick, use flour for dusting
as necessary. Then, cut and bake at 400 degrees for 7-8 minutes. This
version makes 2-2 1/2 dozen, doubled, it makes 4-5 dozen.
When they are cool, they are ready to decorate.
A few notes about Sweet Sugarbelle's recipe from Sweet Sugarbelle…
- The dough DOES not need to be refrigerated. That’s why I like it.
- The dough needs to rest a little after mixing, it will firm up a little bit after a minute or two
- The recipe doubles well
- Baking times are approximate. You must KNOW your oven. Watch them the first few times you bake them. Get a thermometer, and do not over bake. If the cookies are browning you have gone too far.
- This dough can be flavored any way you like.
- The cookies freeze well
- There is a lot of leavener in these cookies. This is not a typo. The general rule is less leavener so they don’t spead, but I’ve never been one to follow the rules.
- This recipe does spread a little. If you don’t like that add a little flour.
- Speaking of flour, start with 2 1/2 cups. Add another 1/4 of a cup if the dough seems to sticky.
- If you don’t like salt, leave it out altogether.
- If you only have salted butter, use that and reduce the salt.
- I prefer decorating day-old cookies. They are less likely to leach oil back into your icing if they have had a day or two to “dry out”. They are still soft, however.
Anyway, moving on. I found the generic birthday party cutters, but I really wanted something special for my Dad's 60th birthday. So, I went to the local cake store. I found a beer glass, a milk bottle and a wine bottle. The wine bottle turned into a beer bottle with a little icing and the milk bottle turned upside down and into a better beer glass than the real beer glass. (I couldn't find a beer mug.)
The royal icing recipe I found at BakeAt350
Royal Icing
(This will cover 2-3 dozen 3.5 inch cookies in 2 colors; I usually double this recipe.)4 TBSP meringue powder
scant 1/2 c. water
1 lb. powdered sugar
1/2 - 1 tsp light corn syrup
few drops clear extract (optional)

Combine the meringue powder and water. With the paddle attachment of an electric mixer, beat until combined and foamy.
Sift in the powdered sugar and beat on low to combine. (Do NOT skip the sifting!)
Add in the corn syrup and extract if desired. ( I think the corn syrup helps keep the icing shiny.)
Increase speed to med-high/high and beat for about 5 minutes, just until the icing is glossy and stiff peaks form.

(You should be able to remove the beater from the mixer and hold up and jiggle without the peak falling.) Do not overbeat.
Cover with plastic wrap touching the icing or divide and color using gel paste food colorings.
This "stiff" icing is perfect for outlining and even for building gingerbread houses and monogramming. To fill in your cookies, add water to your icing a teaspoon at a time, stirring with a rubber spatula, until it is the consistency of syrup. This technique of filling a cookie with thinned icing is called "flooding."
She also has some really great tips on her blog.


 | |
| Birthday Celebration Cookies |

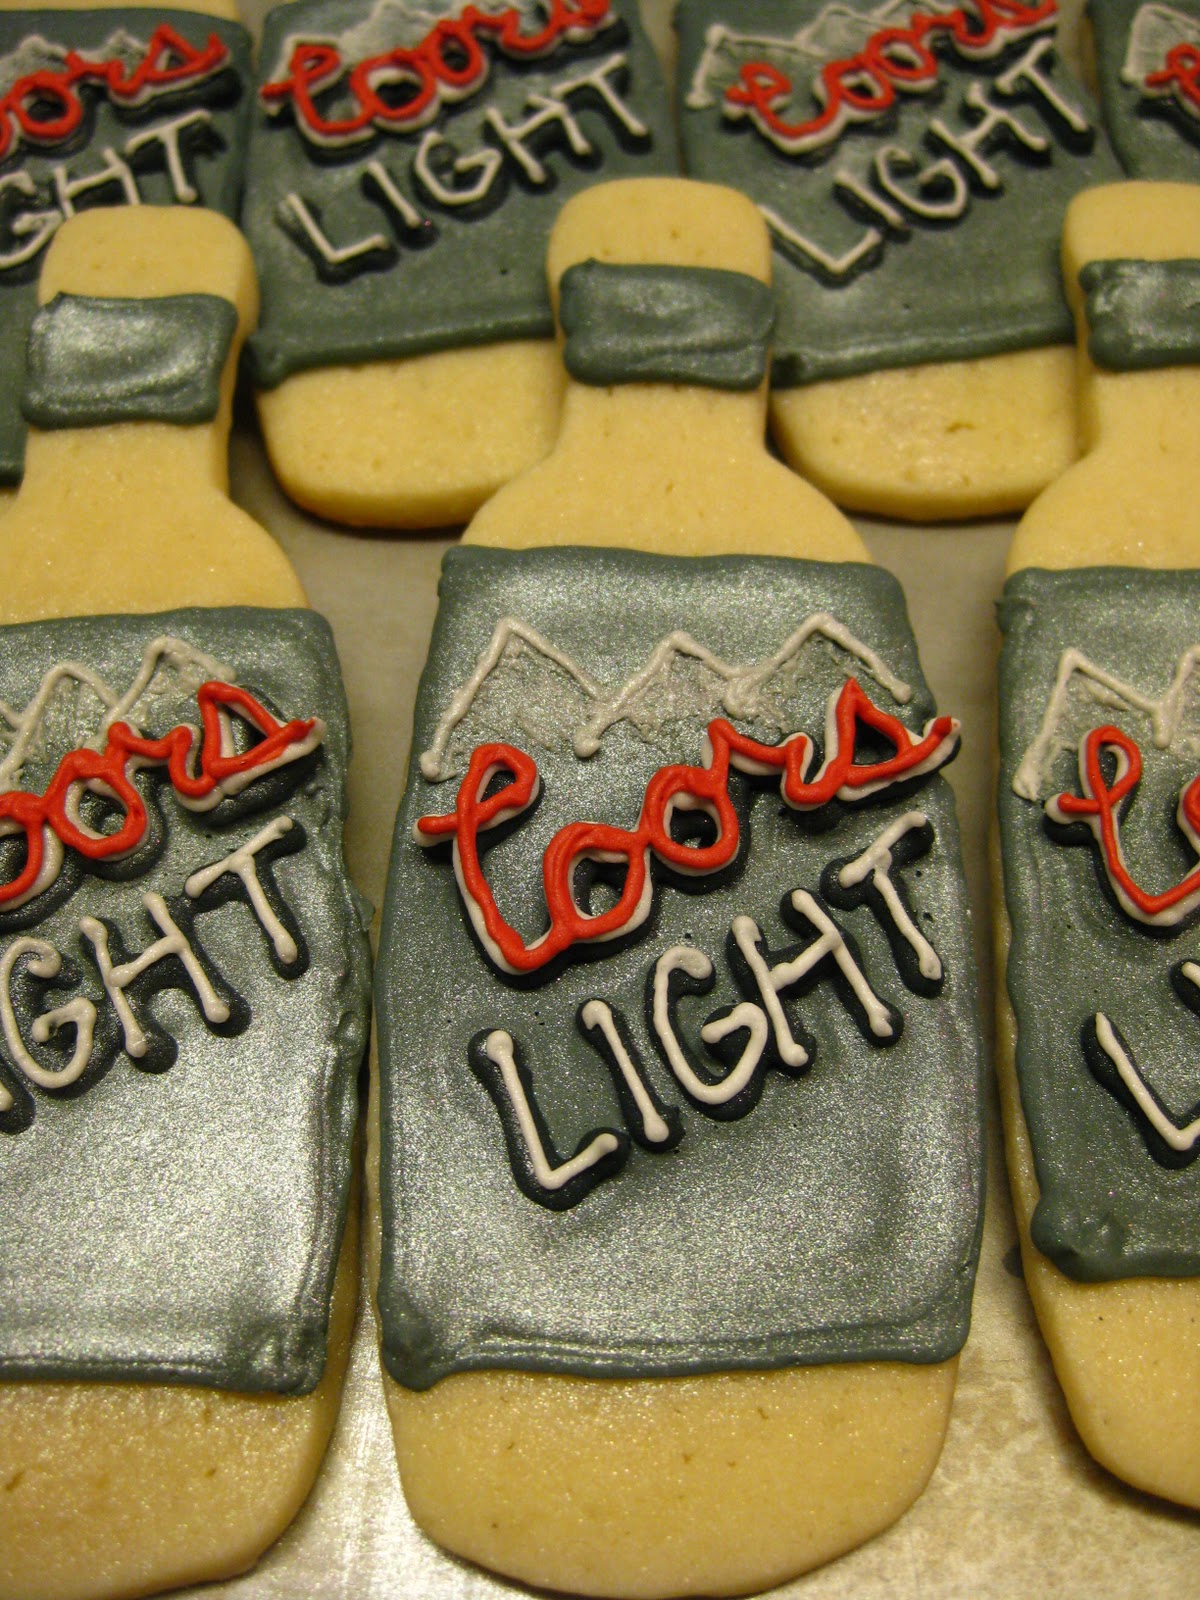
For the beer bottles, I colored thick royal icing gray. Then I outline the label and a band across the neck of the bottle with the gray using a #3 tip. I flooded it with thinned gray icing. I should have dusted the gray here with the silver luster dust, but i forgot about it. Then after I let it set, I piped thick black lettering as it is on the real beer bottle with a #3 tip. Using a #2 tip I went back and piped white over the "Coor's" letters. I used a #1 for the fine lettering in white on the "Light". I used red icing for the very last layer of lettering. For the mountains, I initially piped them on, then took a stiff brush and muddled it up a little then re-piped the mountains. After it was all set and dry, I brushed on the luster dust.
For the beer glasses, I outlined and filled the bottom 3/4 of the glass with a mustard color icing. After that was completely set, I went back to do the white at the top (the head of the beer). I waited to do this so that I could immediately add dusting sugar to the white so that it looked more like foam.
Everyone really loved these cookies. Especially my dad. :-)
No comments:
Post a Comment