|
| Jack the Pumpkin King |
I know its been awhile since I have posted anything, but I went on vacation and came back with my back out. However, I was asked on Tuesday to make a cake for my big sister's birthday on Thursday. I spent all day Wednesday creating this really neat cake. I was anxious to share it, but I had to wait until my sister saw it first. Fair warning, this will be a relatively long post, but it is so worth it.
It begins with a spice cake, her favorite. I baked two 9" rounds and a 6" ball. This is the first time I tried the Wilton Bake Even Strips and can I just say that I am
in love! You wet them and wrap them around your cake pan. It makes the cake rise and bake
completely flat! No leveling required! And, the edges don't get done before the rest of it. They are amazing. OK, enough of a side note. I don't have any step by step pictures of baking the cake because, frankly, I was in a hurry to get to bed.
New Duchess Spice Cake
Betty Crocker Picture Cookbook
2 1/3 cups sifted All-Purpose Flour
1 cup sugar
1 tsp baking soda
1 1/2 tsp cinnamon
3/4 tsp nutmeg
3/4 tsp ground cloves
1 tsp salt
1 cup brown sugar
2/3 cup soft shortening
1 cup buttermilk
3 eggs
Sift together the flour, sugar, soda, cinnamon, nutmeg, cloves and salt. Add the brown sugar, shortening and buttermilk. Scrape the sides of the bowl and beat 2 minutes. Add the eggs one at a time. Once they are all mixed in, beat an additional 2 minutes.
Pour into prepared pans (I used Pam for baking). This is where I wrapped my pans with the amazing bake even strips. Bake at 350 for about 30-35 minutes or until cake tests done. Cool on a wire rack.
Cinnamon Sugar Cream Cheese Filling
1 pkg (8 oz) cream cheese softened
1/2 cup confectioner's sugar
1/2 tsp ground cinnamon
1/4 cup milk
In a large bowl, cream the cream cheese first (I didn't, it get lumpy). Then add the rest of the ingredients and beat with a mixer until well blended. Store in the refrigerator until ready to use.
Basic Buttercream Frosting
I modified this recipe to make more volume without the extra butter that melts easily.
4 cups powdered sugar
1/4 tsp salt
1/4 cup milk
1 tsp vanilla
1/3 cup softened butter
2/3 cup shortening
Combine all the ingredients in a mixing bowl. Beat with an electric mixer. To make black icing I mixed in a little cocoa powder with the black gel coloring to get a deep black.
Marshmallow Fondant
There is a good tutorial video on here too.
16 oz mini marshmallows
3 Tbsp water
1 tsp vanilla
2 lbs powdered sugar
Crisco Shortening
Heavily grease a large microwave safe bowl, the bowl of an electric mixer and the dough hook that goes with it.
Melt the marshmallows with water in the microwave on high for about a minute to a minute and a half until melted. Stir until smooth and stir in vanilla.
Reserve about 1/4 cup powdered sugar and sift the rest of it into the greased mixing bowl. Pour in the marshmallow mixture and begin mixing until a dough forms. If it is still sticky add the remaining powdered sugar. Beat until the dough is soft and smooth. Pull it out of the bowl and knead on a greased surface with greased hands. Knead in color if you want. Knead about 5 minutes until smooth and wrap in plastic wrap and let rest for about 1 to 2 hours. When ready to use roll out on a very lightly powdered sugared surface.
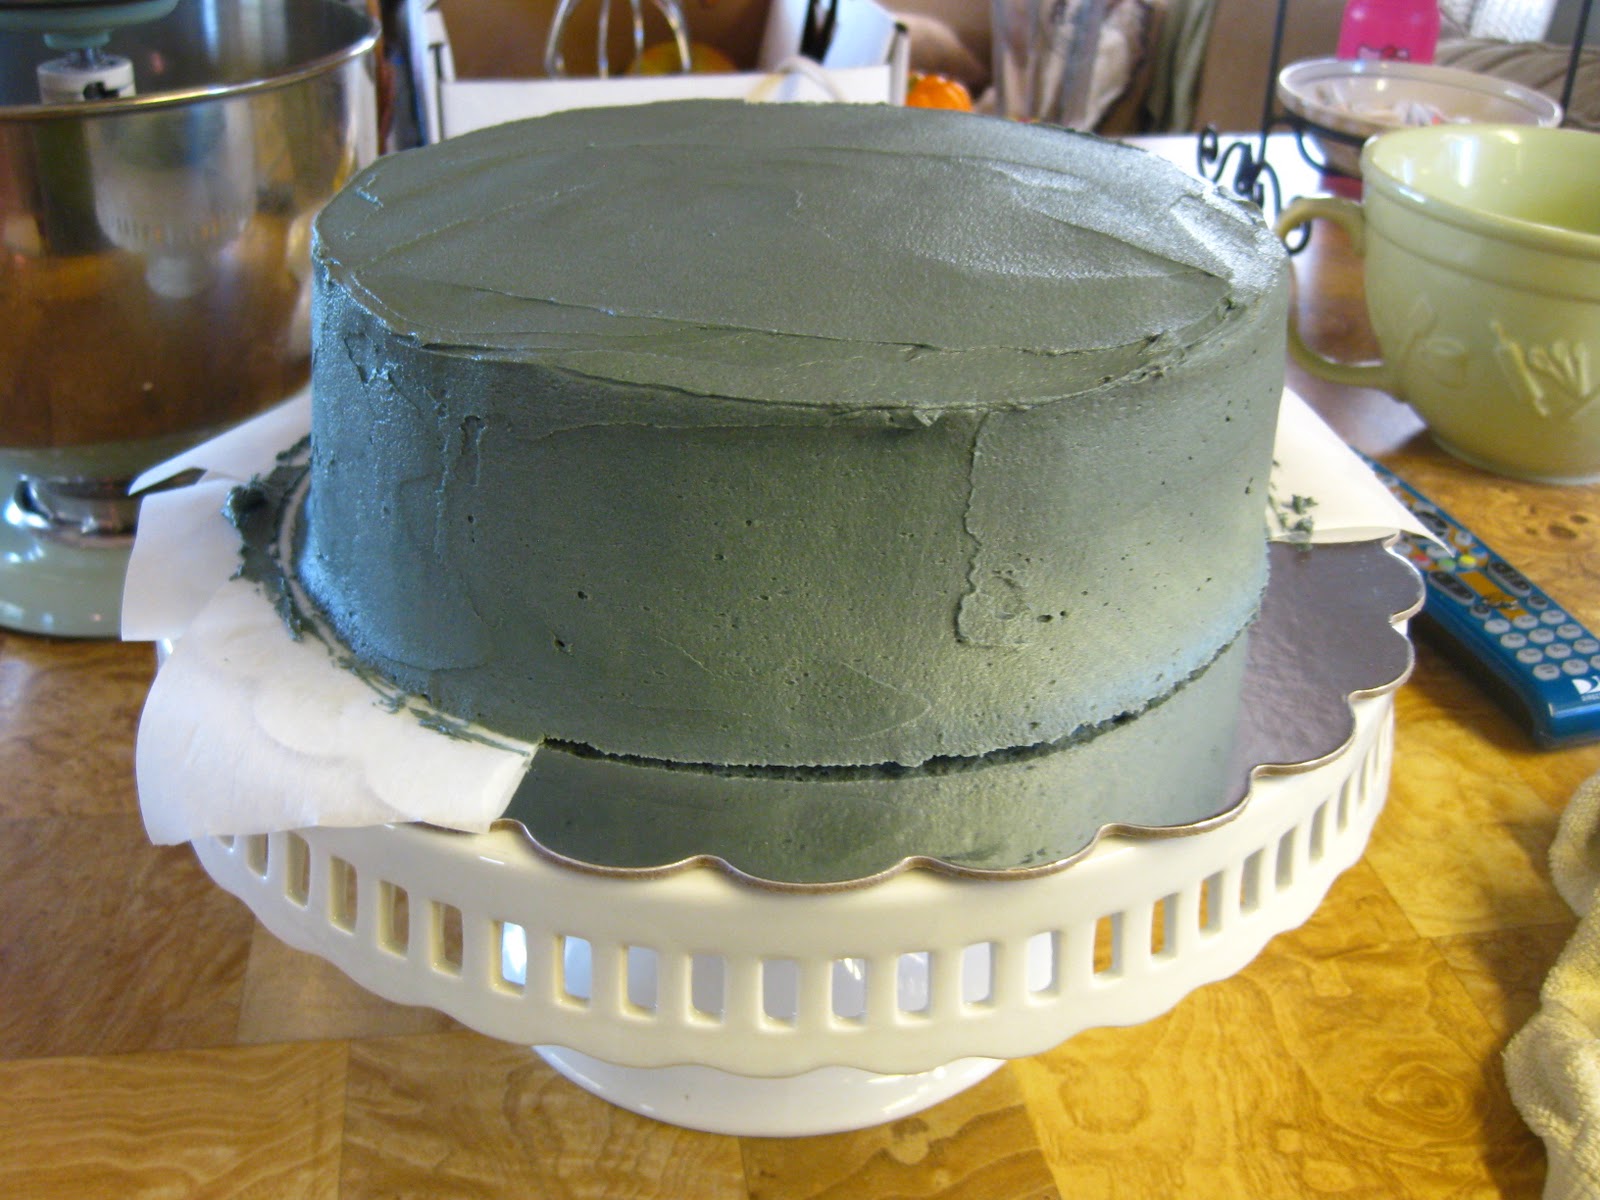
To assemble, place a small amount of icing on a cake board to glue the bottom layer of the 9" round in place. Then I put small strips of parchment just under the edges of the cake to keep the icing from making a mess all over the place. (Saw it on Semi-homemade, loved it.) Spread the Cinnamon Sugar Cream Cheese Filling on top of the bottom layer. Gently stack the second round on top. Apply a crumb coat (thin layer of icing to keep the crumbs from showing in the final layer of icing). Chill the cake until icing is set. Then apply a thicker layer of buttercream until there is about a 1/4" of icing.
 |
| See - Nice clean edges! |
Chill the iced cake to set the icing.
The 6" round. This was a great buy. It is the Wilton Sports Ball Pan. I should have filled it with less cake batter because it overflowed (thank goodness for the cookie sheet underneath). When it is done and cooled in the pan, level the cake with a sharp serrated knife, using the lip of the pan as a guide. This way the two halves will fit together smoothly. Remove from the pans and continue to cool on a wire rack. I covered them with a clean dish cloth and left them over night. It seemed to make the rounds more sturdy and less fragile. Slice a small piece of cake off the bottom of one of the halves so that it sits flat on the counter. Apply filling to the base layer and stack the second round on top. I placed 2 skewers into the cake to hold the two halves where I want them while I applied the crumb coat. I set the whole thing (on waxed paper on a cutting board) in the freezer for about 20 minutes. I wanted it good and set before I moved on. Carefully remove the skewers and apply another layer of white buttercream. I read somewhere, of course after I was done with this project, that you can take a paper towel and lay it over your semi-set buttercream to smooth and marks with your hands. Unfortunately I did not do this.

I made orange pumpkins out of the orange fondant and white skulls and mini Jacks out of the white. For the pumpkins, form a ball and then make ridges in it with a fondant too or any straight edge. Then I used a point to make a small indentation in the top to kind of bring all the ridges together and make a place for the stem. I formed round balls for the mini Jacks and sort of an oblong shape with slight indentations for the skulls. I set them on waxed paper and left them out in the open to allow them to dry out a little.
 |
| The tools I used are here. |
Moving back to the base cake. I made black buttercream and piped a broken fence all around the cake using a #4 tip. The I piped shells along the bottom edge of the cake.
I carefully covered the round with white rolled fondant. Note that I said carefully, but definitely not perfectly. I cut a wooden dowel to about 8" and stuck it through the 9" cake all the way to the cake board. The I carefully placed Jack's head on the dowel to stabilize him so he didn't slide around the cake.
I piped another black shell border around the base of Jack's head. The I piped green buttercream stems onto the pumpkins and black royal icing faces on the skulls and mini Jacks. (The royal icing was left from a cookie project.) I arranged the pumpkins and skulls/jacks around the base of the cake and the top of the cake around Jack. I then piped green vines on and around the pumpkins, as well as small leaves. I wrote Happy Birthday on it in white buttercream.
I drew a pair of eyes, a nose and a small smile on some waxed paper and then piped royal icing on the opposite side of the waxed paper and filled it in with flood icing. Then I sprinkled on edible confetti (black). This had to set all night to completely dry. I also made some bats to add to the side.
The next day, after the royal icing was completely set, I carefully peeled them off the waxed paper. I used the waxed paper to trace the eyes, nose and mouth onto the fondant head with a rounded fondant tool. Then using an exacto knife, I cut out the shapes and removed them. Once again using the rounded tool, I carefully pushed the edges of the cavities outward and smoothed them over until the eyes, nose and mouth would fit in the vacant holes. The final product? Amazing!